Monday, January 21, 2013

Pink and Nude Gradient Mani (with easy cleanup?)

Remember how in my DIY Peel off Base Coat post I mentioned
that I would see if the glue helped in the cleanup process of a sponged gradient mani?
Well, I did....and it does!  Last week Sam from The Nailasaurus did a post on
Liquid Palisade, which is a masking product that allows you to simply peel off the mess after a mani is done.  This got me thinking...its pretty much the same idea of a peel off base coat which is really just glue.  Who didn't enjoy putting glue on your hand and peeling it off as a kid?

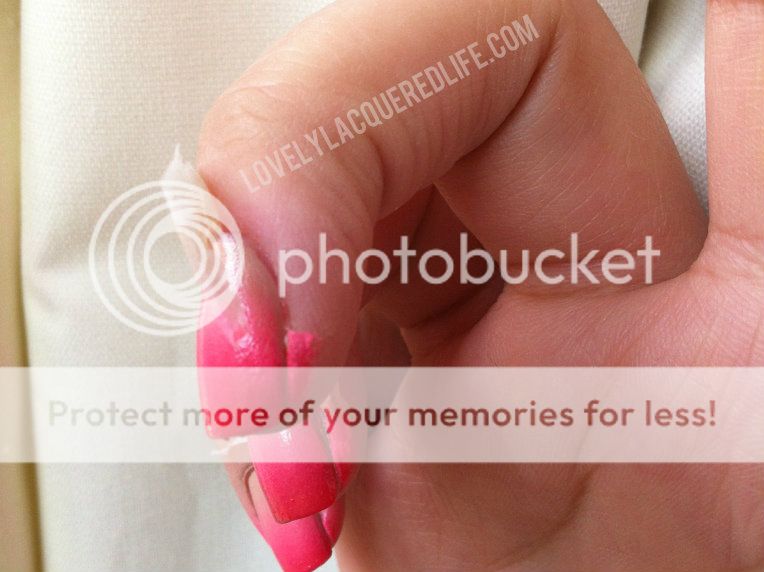
Anywho, I tried this technique this weekend by painting all around my cuticle and down my finger a bit (where I usually have mess from a sponge gradient).
After I let it dry (1-5 min) I painted as usual and then the fun began.
The mess just peeled away!  All I had to do was alittle cuticle clean up at the end and maybe a little warm water clean up to get any glue residue off.  Plus I got the added fun of peeling glue.
I have also read that Liquid Latex is a cheap alternative to Liquid Palisade.
Both dry to a rubbery finish, which I'm sure makes it easier to peel than glue, except that Liquid Latex is just pennies compared to Liquid Palisade.  I found this option on Amazon and it comes with a brush for around $4+shipping (around $8 total).  That's much better than $22. 
But if you don't want to spend any extra and you have some Elmers glue hanging around...go for it.  It works just as good!
Here is my finished mani.  My base was OPI "Don't Pretzel My Buttons" combined with a coral and hot pink from Sinful Colors for the gradient (dont remember the names at the  moment).  For grins I added a coat of Orly "Too Fab" mainly because I'm a little obsessed with the way it looks on top of everything.


Thursday, January 17, 2013

DIY Peel Off Base Coat

This is by no means an original idea.  DIY peel off base coat instructions
have been floating around the nail blogosphere for a while, but I figured
I may as well document how I made mine.
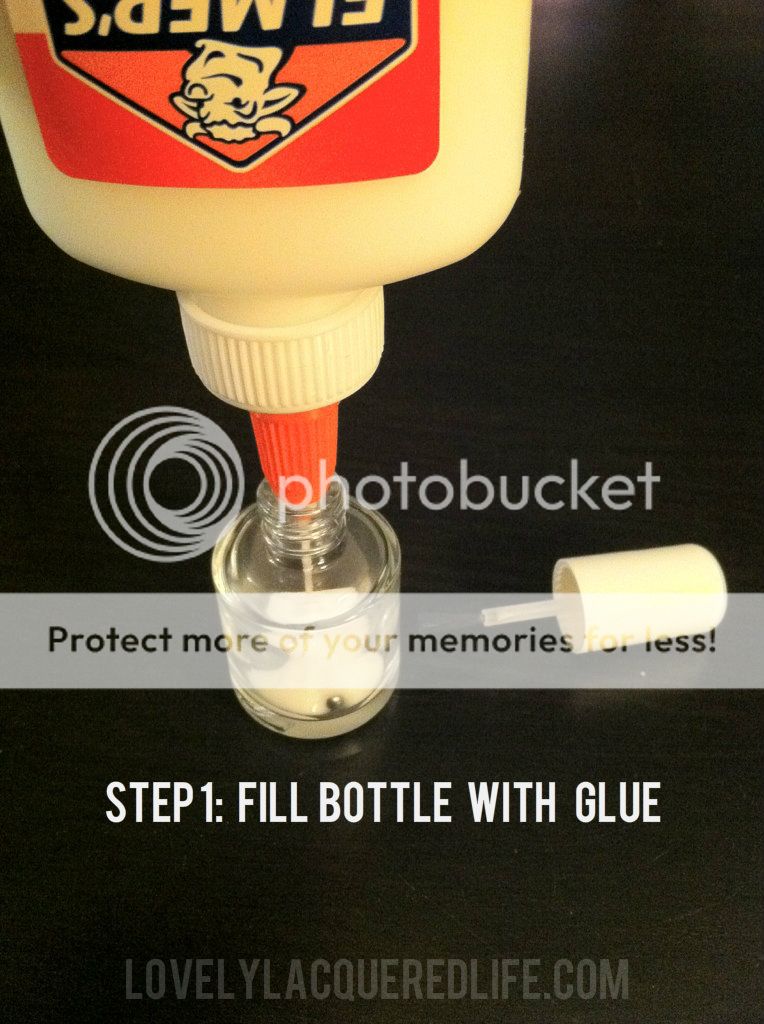
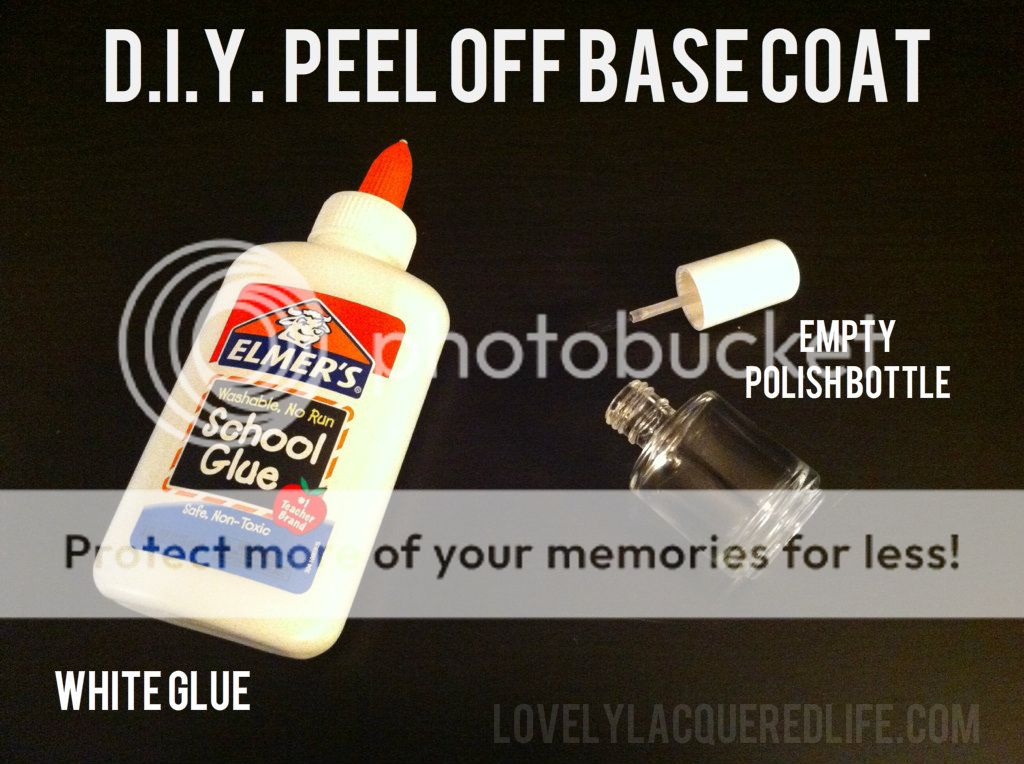
You will need White school glue (the main ingredient in "peel off base coats") and an empty nail polish bottle.  If you don't have an empty you can empty a regular np bottle and swish acetone around in it till its clean.


Step 1: Fill bottle with glue


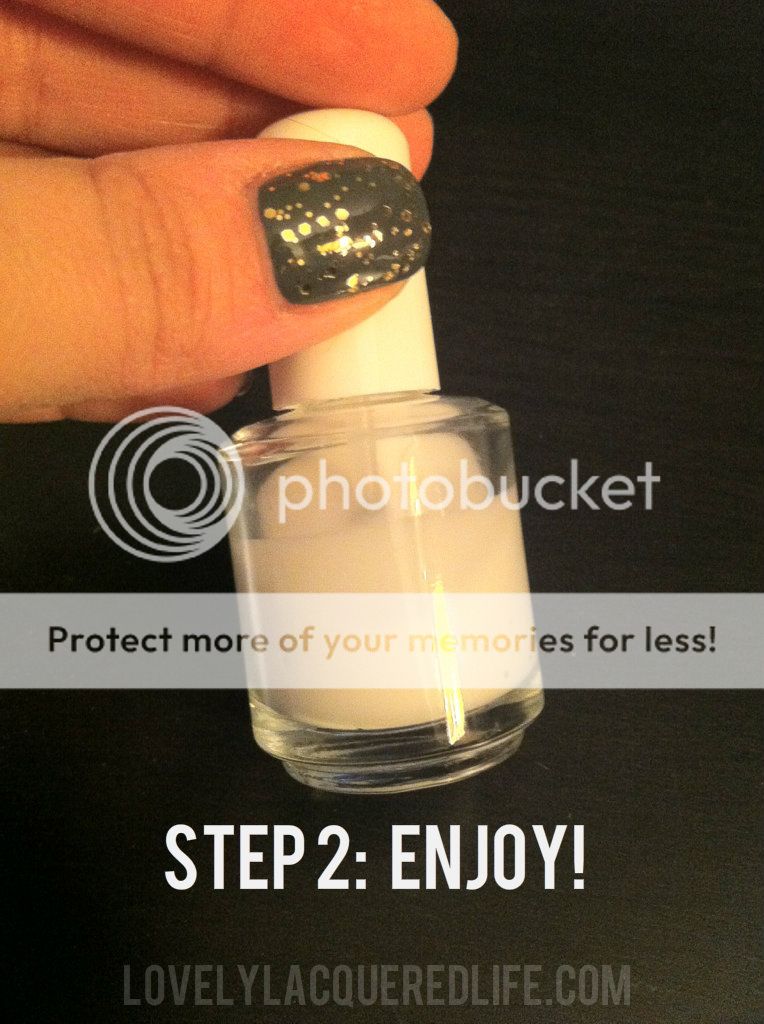
Step 2:  Enjoy!!


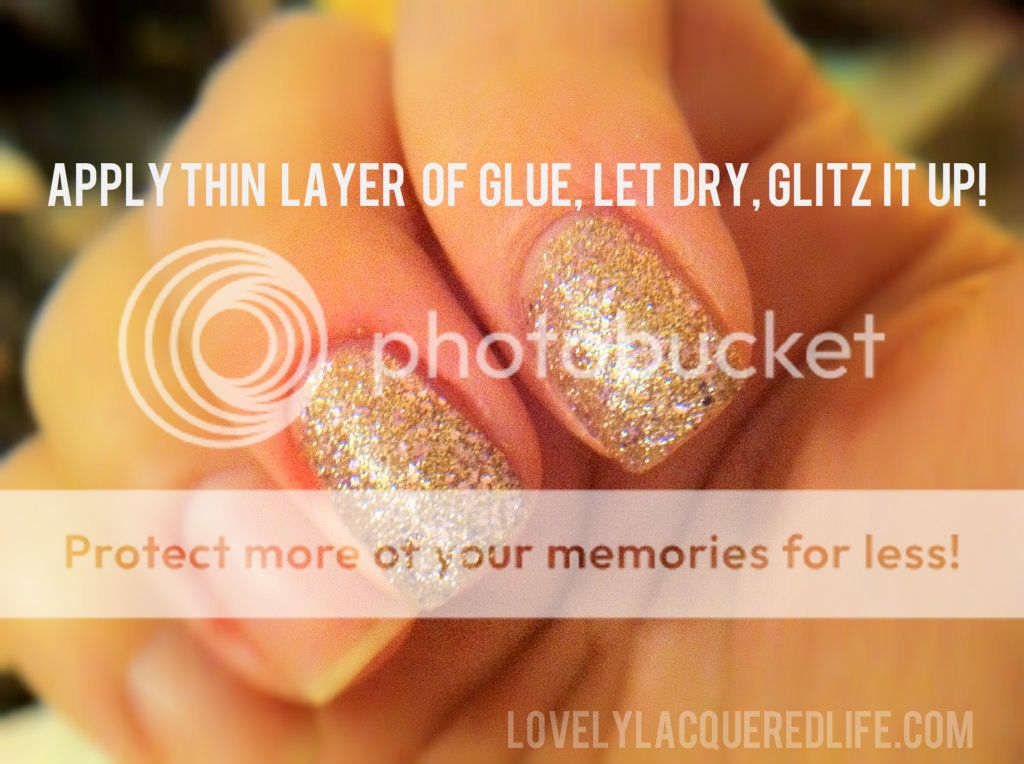
When you are ready to paint your nails with glitter just paint a thin coat of glue on your nails as a base coat, let it dry and apply polish as usual.  That's it!!  
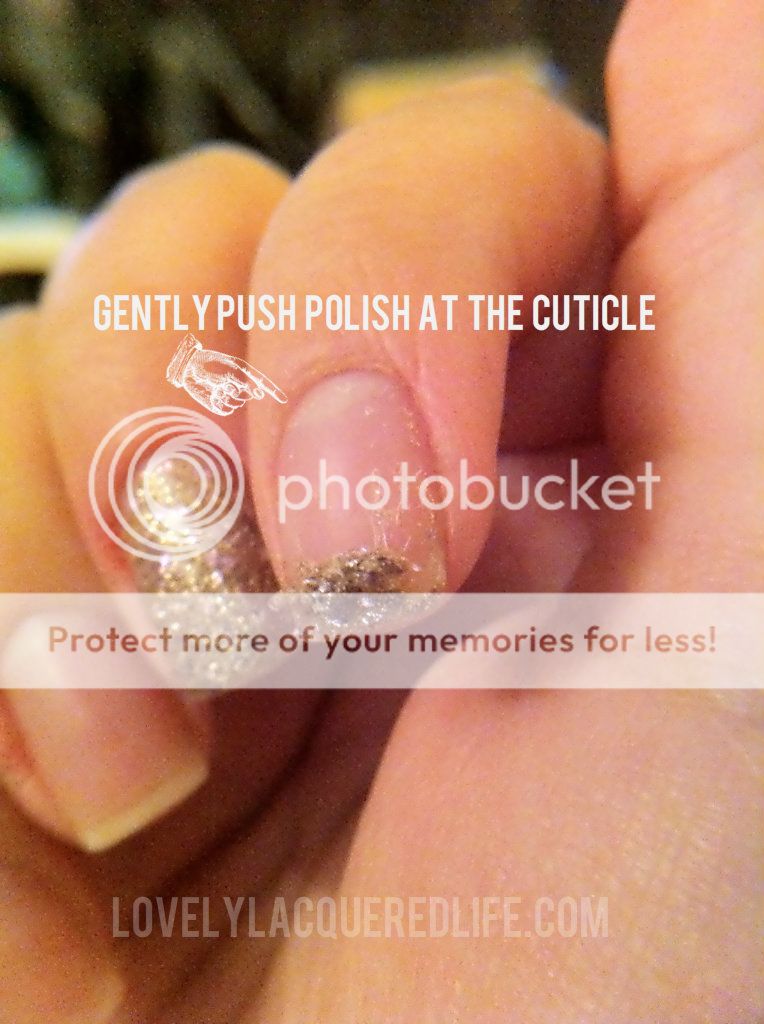
When you are ready to peel off your glitter, gently push it up at the cuticle and peel it off. 
*Usually it peels off in big chunks, but the polish was fresh and just barely dried when I peeled it off.  There will be little to no clean up afterwards....and a lot less wasted time, remover, and cotton pads.  I think am going to try this approach next time I do a sponge gradient, but paint glue all around my cuticles/finger so that i can just peel off the mess and have a clean gradient...hmmm.


Monday, January 14, 2013

Mermaid Mani (with Gals plates mini review)

Today I wanted to show you a mani I did this weekend.
If you follow my instagram (@ezzimcgee) im sure you have already seen it.
Here is a run down of what I used.
Whenever I do gradient sponge mani's I try really hard to start with 3-4 colors that naturally blend together...even if you cant tell there are 4 colors at the end.  I started with 1 coat of Sally Hansen Lickedy Split Lime and then sponged the 4 colors (listed in pic) about three times on each finger (you can do at least 2 fingers per sponge refresh), followed by 2 coats of Northern Lights to give it some sparkle.  Perhaps I'll do a video tutorial one of these days.
I dont know about you but blues and greens always make me think of mermaids...which made me think of my new Gals 2013 Princess plates (by Cheeky) and the fish scale print on plate GA14.  After reading some reviews I was hesitant to get these plates bc everyone had said the images were small.  They were right.  The normal Cheeky plates I have no problem with size, etc.  However, these are smaller length wise...and its mainly because the half-moon they are adding to the full nail images.  More on that later.  I stamped the scale image with Revlon 24K and used my favorite quick dry top coat - Sally Hansen Insta-Dri.  Also pictured is my fav base coat - Sally Hansen Hard as Wraps Acrylic Gel (keeps them strong) and Sally Hansen's new "Dry & Go Drops." The Insta-Dri top coat works just as fast a Seche Vite in my opinion just without the shrinkage, and the Dry & Go drops help speed things along.  I was able to paint my nails, put on top coat and drops and then get dressed 5 min later.  Worth it!!
On to the nails!
  I mentioned earlier that the Gals plate are short.  This pattern is not the best to demonstrate this but if you look on my middle and ring finger you might be able to see where the image cut off too short at the tip...and doesnt hit the base of my nail.  The full image really only fit my my pinkie....I didnt even attempt to stamp my thumbs.  If you have long nail beds like I do and keep any length at all you will have a problem with the short images.  On my left hand, currently all shortys (chain of successive breaks) I was able to get the full image, but just barely.  Had they not added the half-moons...or made the image longer and then added the half-moons they would be perfect.  That being said all the plates stamp crisp and clear.  I have not purchased the "Fairy" set yet, still on the fence.  Let me know what you think!!

Thursday, January 10, 2013

Preview of the Valentines Day Nail Art Challenge Schedule

I know...I know...its way to early but I couldnt help myself. 
I have only psuedo-participated in a Christmas Nail Art Challenge and loved it!!
I was trolling around to see if anyone had posted a Valentines Day Nail Art schedule and couldnt find one...bummer. 
But then I thought...."why the heck cant I make my own?"
I dont know the protocol on properly making or "joining" a challenge so I'm going to open it up to whoever wants to participate.  Tag my user name on Instagram (@lovelylacqueredlife or @ezzimcgee) or email me a pic/blog link and ill be sure to list you in my posts so other people can check it out!

Wednesday, January 9, 2013

Nicole by OPI announces 4 new chic shades for 2013!

Nicole by OPI announces four new classically chic nail lacquer shades for 2013,
 including Plum to Your Senses!, Please Red-cycle, Totally in the Dark, and Still Into Pink.  Featuring two vibrant crème shades of bright pink and rich red and two shimmering hues of deep plum and glossy black, these elegant lacquers are suited for every wearer and occasion while delivering distinct color with a flawless finish.  
“Swipe these four new lacquers on nails for intense color with on-trend hues,” explains Suzi Weiss-Fischmann, Nicole by OPI Executive VP & Artistic Director.  “When it comes to style, any look can be enhanced by adding a splash of color, and these fashionable shades can be easily applied to match your mood.  The playful shimmer of Totally in the Dark and bold pigments of Still Into Pink both make dramatic statements, while sophisticated Plum to Your Senses and classic Please Red-cycle give nails a polished, stylish finish.”
The four new lacquers include:
Plum to Your Senses!You KNOW this deep,
 dark plum is the perfect choice.
Please Red-cycleDo the right thing and wear this apple red over and over.

Totally in the DarkThis shimmery black is completely unexpected.
Still Into PinkOur love for hot pink will never grow cold

Nicole by OPI Nail Lacquers and Nail Treatments contain no DBP, Toluene, or Formaldehyde. Nicole by OPI formulas are long-lasting, fast-drying, and salon-quality.
These will be available in stores beginning January 2013 for $7.99 each at retailers including select Walmart, Target, CVS, Rite Aid, Kmart, Kroger, ULTA, H-E-B, Meijer and Duane Reade locations.
 In Canada, these shades will be available for $10.99 each at Shoppers Drug Mart, Walmart Canada, Jean Coutu, Loblaw, and London Drug.For more information, visit nicolebyopi.com. Follow Nicole by OPI on Twitter @NicoleByOPI and become a Facebook fan!

Which ones catch your eye?

Ulta Blue Streak and Vivid Lacquer plate VL004

Today I wanted to show you a mani using Ulta "Blue Streak"
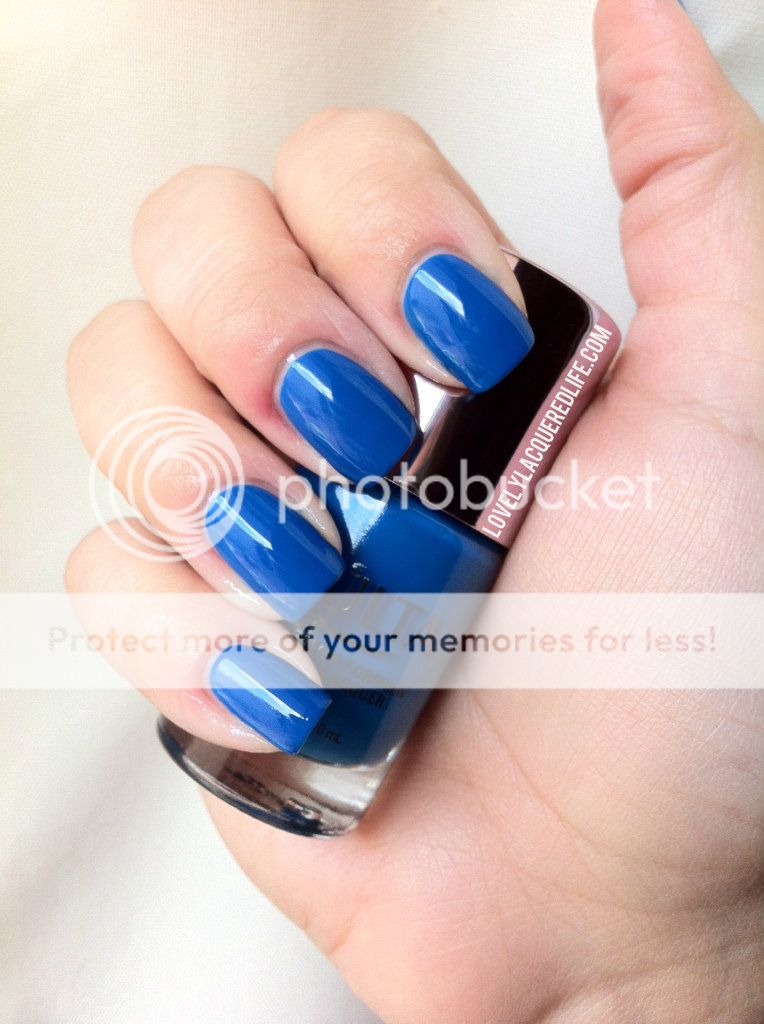
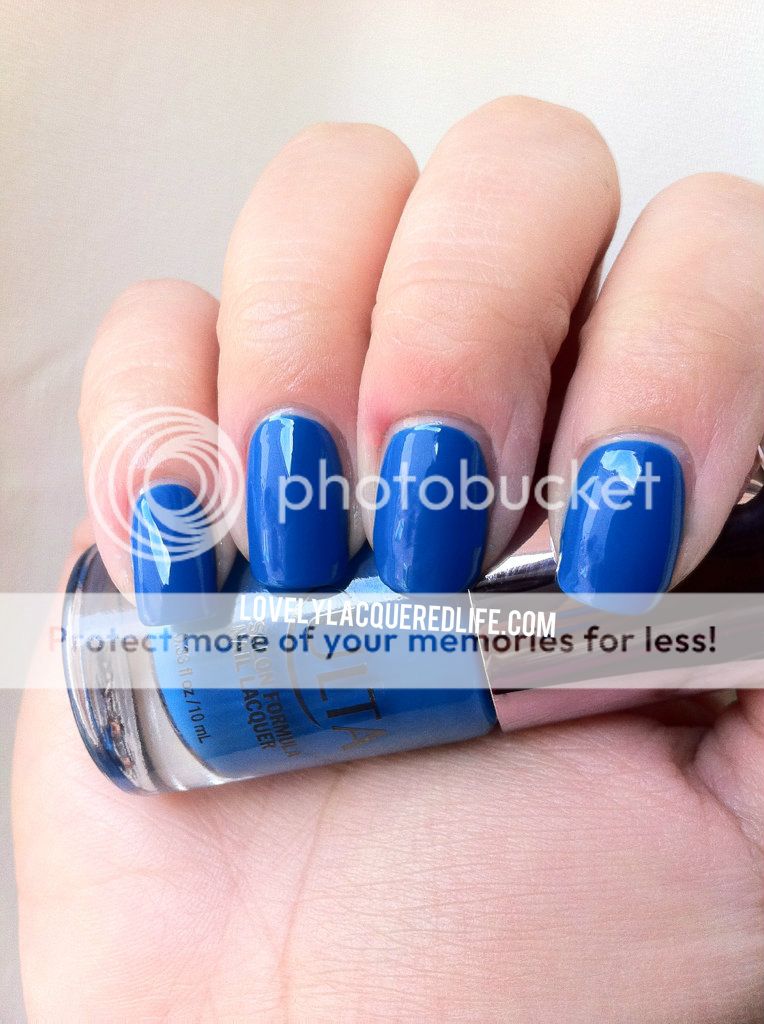
This is the first Ulta polish I've used and I'm pretty happy with it.  In the bottle and on the nail it is a bright royal blue - very similar/dupe to every swatch I've seen of Essie's Butler Please.  I dont have Butler Please yet, but I will try and do a comparison swatch soon. 
This is two coats of Blue Streak.  The formula is nice on this polish.  The first coat when on nicely with some bald spots but the second coat fixed everything.  It dries normal to quick with a glossy finish.  I have one coat of Sally Hansen Insta-Dri Top coat (red bottle) in this photo.
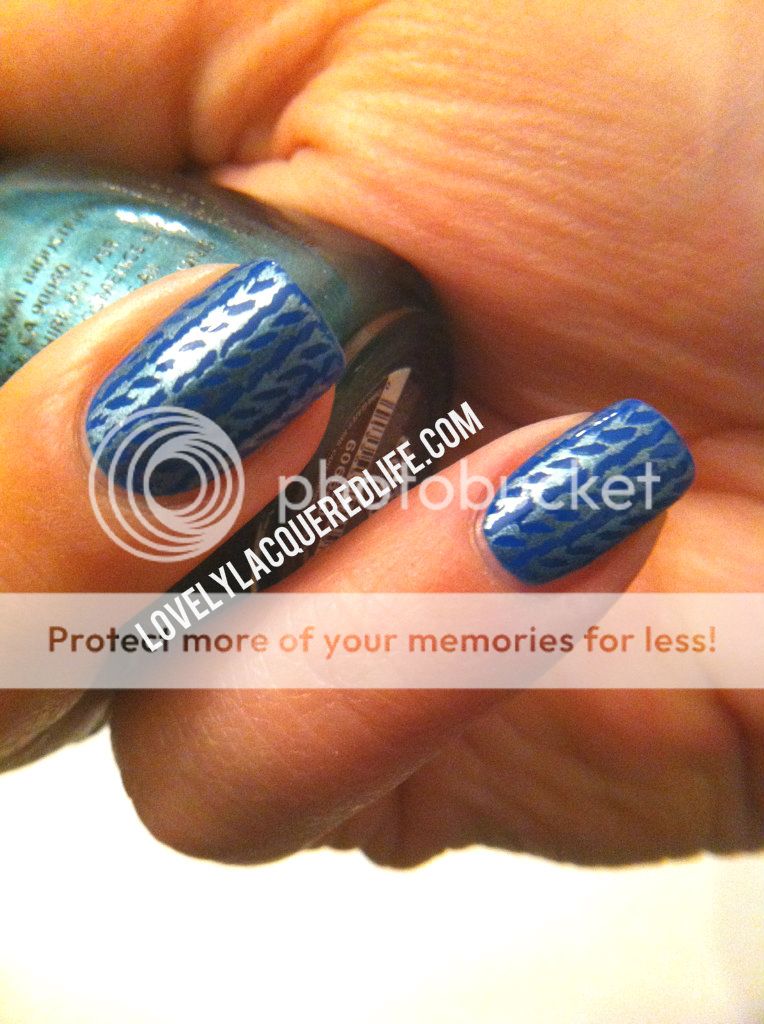
After 2 days I started to get some tip wear and decided to stamp over it to prolong my mani.
I decided to used one of my new plates from Vivid Lacquer.
If you haven't tried one of Anni's plates you need to.  I now have 3 and love them!!
I used China Glaze Adore to stamp the knit pattern with. 
And just for funzies I used Hard Candy "Mattely In Love" over top to mattify the mani.
By the way VividLacquer's full nail images are huge!!  I have long nail beds with just alittle length and these fit no problem.  The only full nail image on this plate that isn't big enough is the butterfly wing (it will only fit on my ring and pinky finger, but you can always free hand some extra black around it).  Here is a demo of all the images on this plate (stamped with Adore on a paper towel)
You will notice that the full nail images are not completely on here because my stamper wasn't big enough to pick up the whole image...and it's the large Konad stamper!  All the images are crisp and clear (bluring and smears are user error...eek).  The city scape is the only one you will need to be careful not to over scrape.  Doesnt that TV look like the one Zooey Deshanel had on her nails at one of those awards shows?  Im in love with this knit print....but I love to knit and crochet so of course I would be!!


Thursday, January 3, 2013

Zoya Promo!

just in case you haven't seen this on other blogs, Zoya will be having a promo starting on the 7th!!

Zoya_Nail_Polish_Promo_Image_2013_color_your_world_coming_soon

I am ashamed to say that I have never tried Zoya.  No one around me sells it, but Whole Foods and they have little to no selection.  I think this might be the promo that finally gets me on the Zoya train